Monday, April 24, 2006

Buffer Progress

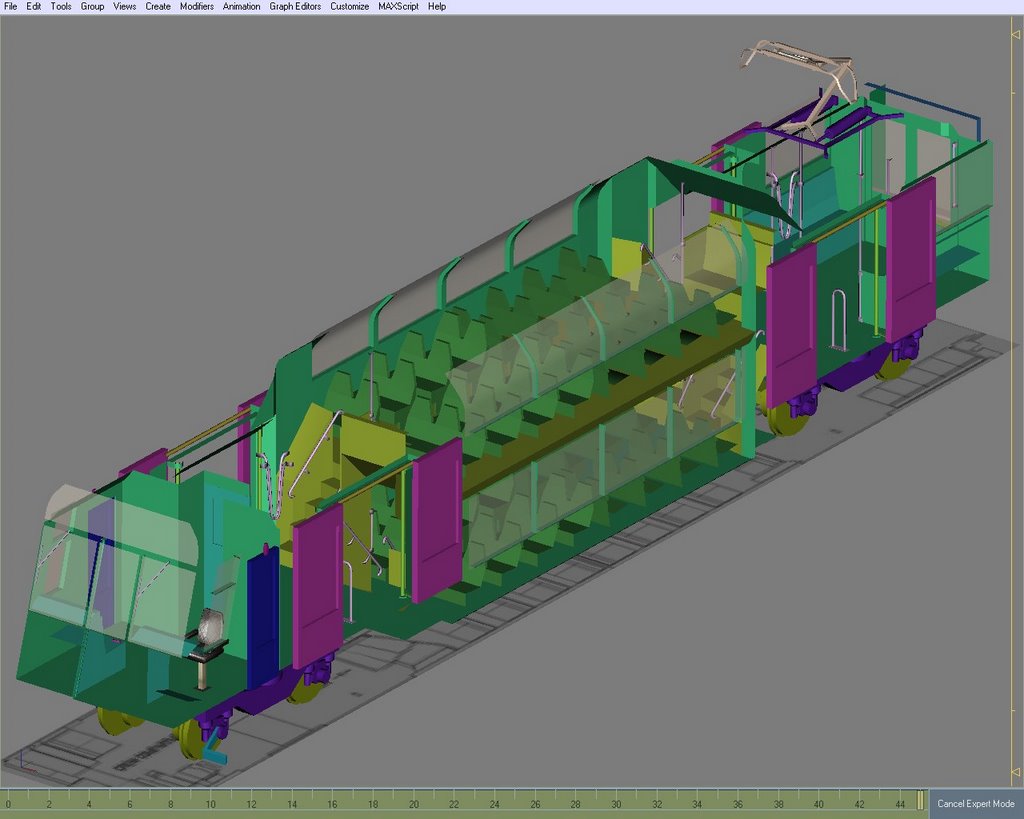
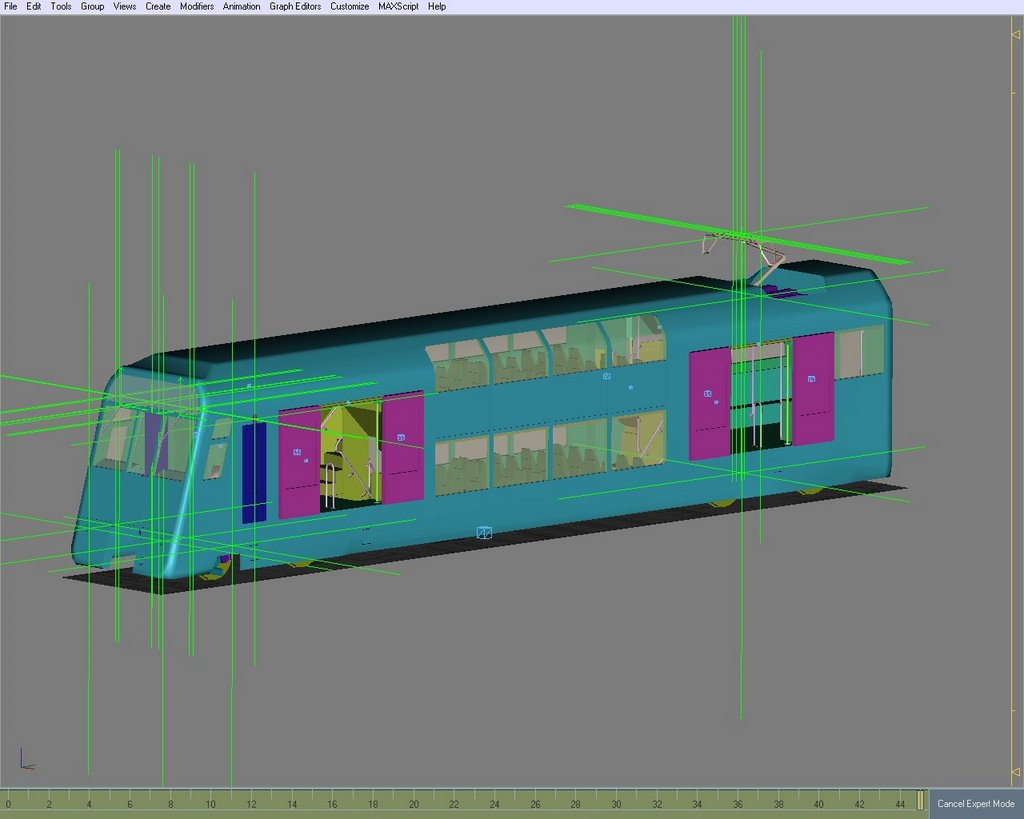
I guess Ive needed a break from the Tangara. This is normal for me. I spend months focused on a single project and then have to get away from it for a while. Im sure that I will get back to that soon.

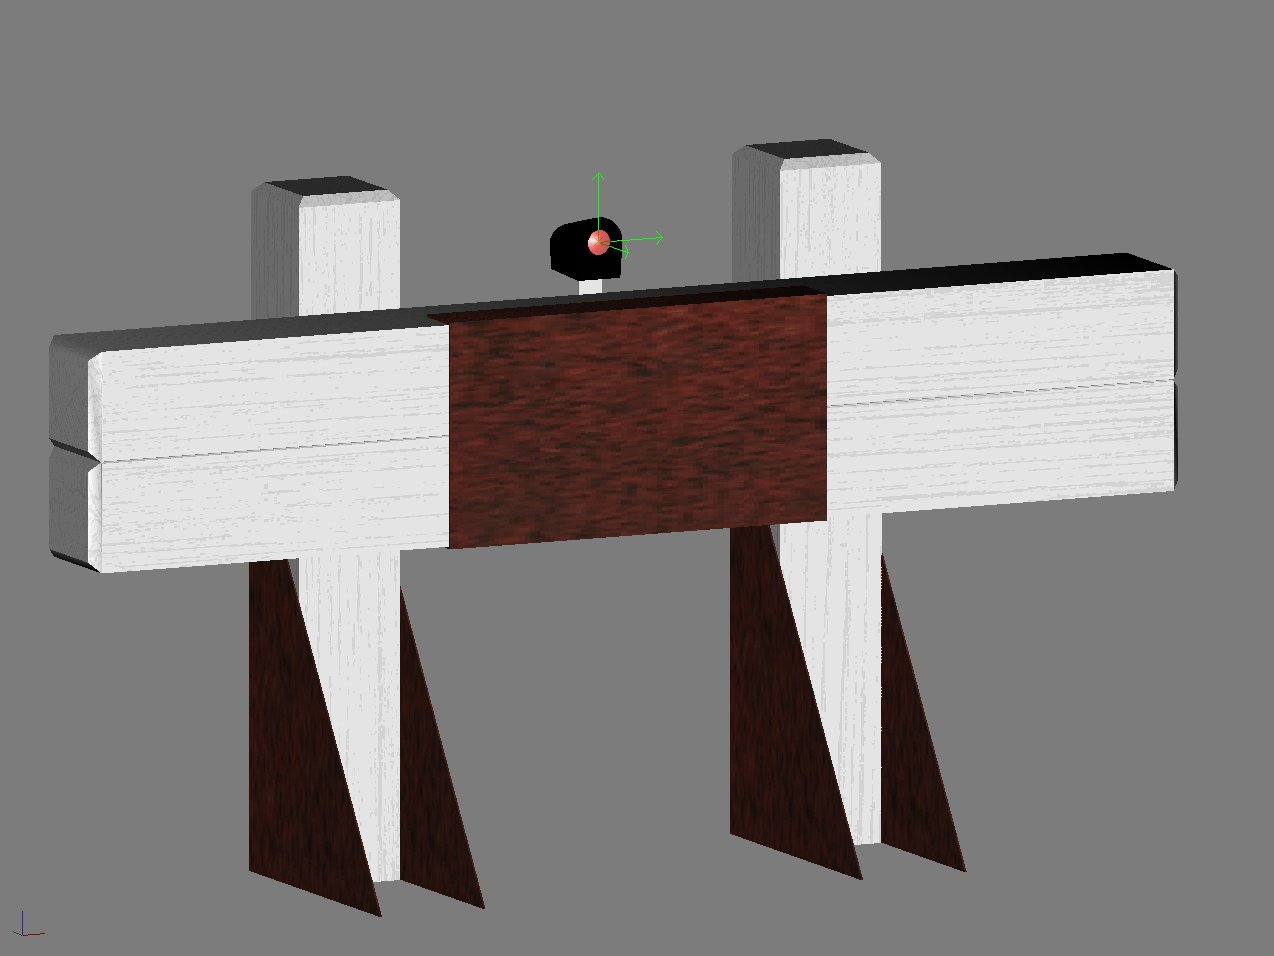
Ive done some more work on the buffer stops that I started months ago, and now have the model finished. Im still trying to get the textures right, but this is a good thing, as I really do need to learn more about texturing before I start trying to skin something as complex as the Tangara.

As always, Ive read tons of forum posts and tutorials, and am jumping right in, avoiding many newbie mistakes. Ive figured out the relationships between ambient, diffuse, and specular lighting. Ive tweaked Gmax so that it will actually output these values (the default Asset Creation Studio settings dont do specular etc) and Im using the Max plugins so that bump mapping will work.

The Content Creation Guide recommends that you should only use bump mapping on locomotives, but I am experimenting with it here, because these buffers have a coarse wood grain which normally shows as bumps under the thick white paint that they are covered in. You can see the grain in the picture, but that screen grab has no bump mapping and looks kind of flat. When I get something that I am happy with, I'll move on to the scripting.

Its set up as a signal (as buffers should be), and I have set up the light that way too. Ive seen other buffers which use seperate corona effects or a night mesh to light them, but to me, setting the lamp up as a signal light seems like the right way, and works fine. I'd like to script it so that the light can optionally be placed in the center (as shown) or moved to the left or right post, or completely removed, since I have seen many different configurations in my travels.

Im thinking of using mesh attachments to do this, with a properties dialog used to switch them on and off. I will start on the script once Im happier with the way Trainz is rendering the textures.

Train Stop Fixes

Someone pointed out some problems with the train stops - most notably they werent initialising properly and would be in the wrong position until at least one train had passed. This has now been fixed.

There is also another issue, which I think is related to TRS2004 since I cant reproduce it in 2K6, where if you fly back to a signal, crossing a base board boundry as you go, the train stop appears in its default position, despite nothing having changed since you last saw it in the correct position. At this stage, I dont think there will be a fix for that one, as it seems that there are no obvious messages or hooks when this happens that I could detect and bind a fix to.

I'll be uploading an updated version soon. Posted by Picasa

Saturday, April 15, 2006

Comments on Comments

There hasnt been much progress on the Tangara this week, but I have been working on a few smaller items, and one or two pieces that will end up in the Tangara later.

Thanks for all the comments on the last post. I wanted to respond to some of them here.

Features

Nathan asked if the cab would be animated. It sure will!. How much is animated wlll depend on how long it all takes, how well I can communicate between the cab script and the exterior one. (That should be easy). Essential things like the driver will obviously go in first, while less-essential items like blinds will be added later, as time and skilz permit. Pretty much everything suggested was already on my list for considereation. (plus a few more ideas too). I'll keep you posted here, as it all progresses.

Alex mentioned the Cityrail Driver by Davido. I have seen it, and his Freightcorp drivers, but I would like to make my own for several reasons. (Some of which will become apparent when you get to see the Tangara). No offence to Davido, his models are excellent, and indeed I have been very impressed with everything so far from Cardiff Workshops, but I have some ideas in mind and making my own driver mesh would allow me some extra flexibility. This is one of the several smaller things that Ive been working on this week.

Payware

Payware is an issue that can polarise people. Some people "get it" and dont mind parting with a few bucks, others expect that everything should be handed to them for free, and most are somewhere in between.

Over recent months, a few people, (ky most recently) have commented at various times that the Tangara should be (or could be) payware. I take that as a very big compliment. Thank you. These comments generally mean that people appreciate the work that has been put in to the model, and I gratefully accept that.

Ive said from day one that the Tangara (and all its variants) will be FREE, and will be uploaded, unencrypted to the DLS to be looked at and learned from, however I am not promising the same for any future models that I might build. Each will be decided on its merits when its started. At present, I currently have no payware items planned.

Here is my take on payware:

Over the last 4 months, since starting on the Tangara, Ive spent quite a bit of time at my computer. Im a geek, so my wife is quite used to that, but recently it has been a lot more time that it used to be, and it has caused some friction on occasion.

Without even considering the number of hours spent working on the Tangara, I do feel that it would be nice to recieve a little appreciation for the time spent away from my family, but at the same time I also understand that its my choice to do that.

Its not about money - Im never going to get rich making 3D models. Its simply about people appreciating the effort that went in to it. Im hoping that Auran might select the Tangara to be included in future versions of Trainz, if its considered good enough, and that is one form of appreciation.

Money is obviously another form, and is merely a token. If I ever do release payware, it wont be more than a few bucks per download - definately under $5 (probably with a couple of dollars to spare) because accumulaing vast amounts of money is not the point. Its simply about saying Thank You.

Having said that, I am working on a Redfern Workshopz website to be released at some time in the future, and one of the required features will be an online store, to allow me to make payware models available, if I choose to do so. This is just one of many features that I require for the new site, and its no more, or no less important than the other required features, such as project management or forums.

Now, if only drupal would play nice.

Saturday, April 08, 2006

Tangara Progress

Ack! Im Naked!!

You've seen enough shots of the outside of the Tangara model, and I happened to be working on the model as shown (only the exterior body is hidden) so I thought I would share this unusual view.

Ive spent this week tweaking things. I started on the gangway, but realised I have no photographic evidence of it working the way I had imagined, so Im totally rethinking the animation I had planned for it. I had thought the internal "wings" (for want of a better name) folded back over the doors when disconnected, but it seems, from the photos I have managed to find that they remain in place, and there is only a very little amount of contraction of the corridor that occurs (much less spectacular in animation). Im leaving that until I think about it some more. Of course I could always use artistic license to make it animate better :)

I added the windows. Adjusted the position of some handrails and door inserts, and added the pantograph, which reminds me that I detailed the roof a little more around the cutout section where the pantograph goes (Its now curved like on the prototype). You'll see what I mean in future shots of the body.

Im thinking of redoing (yet again) the passenger door animation, to make it full cycle (closed - open - closed) which is what is needed for the sounds to work. Its currently half cycle (closed - open) as is used in the standard Auran left-passenger-door style of config (they play it backwards for the close sequence, which is not what I need).

I realised that I had not detailed the crew emergency door on the inside - it looked like it was part of the interior wall, so I quickly fixed that. I hope to animate it one day (but not today), so it will need more work eventually. Its fine for the initial release the way it is now. Of course having made a noticible door in the base model, I will have to reverse that when I make the 4D, which doesnt have that door.

I know I type too much, so speaking of the 4D, and since you're good enough to read this far, Im going to be building 2 versions of it. A running version, (which can also be parked as stored if you like) and a derelict version, stripped as it was, which can be loco-hauled (but undrivable). I think that makes it 4 train variations now, and 9 cars that will need to be built to cover those.

Oh, yes, and I also added the wipers, and started on the Train Stop trip arm. (the hangy bit front left). Its starting to sound complex now, but its almost there. Somehow with all this work, Ive still managed to lose 300 polys on the last count - unless my math was wrong last time.

All the attachment points are in for everything created so far (lights, doors, wipers, pant, bogies etc), and the only things left now, besides a little more tweaking, are the couplers, trip arm, and gangway. Then its off to the paint shed for some textures.

The actual models that will run in Trainz will then be created from this one. While that is happening, I can start testing the scripts, using this model as a test-bed to get everything working.

Andii06, has sent me the library I mentioned last time, which covers many of the features that I had planned, and has a really nice "properties" interface in surveyor, so I only have to write the code for a few special (and some surprise) features not covered by his library.

I also have to build an interior model for cab mode, which will be based on this interior, but with more detail (levers, buttons etc) and write a script for it. I also need to write a new library which will act as a communications channel between the interior and exterior scripts, so that if for example, you open a door in cab mode, you will see that door open in DCC mode as well.

The base Gmax model is getting really close to finished, but its also a very long way from being ready to upload the final variations to the DLS. Theres also a few other things to do. Since its my first train, I will need to create a driver, and anything else that may be needed. These could be reused in the future, but I have to create at least one, at some stage.

Yes, there is a reason for those extra attachment points above the pantograph :)

BTW: I finally figured out how to get large images into blogger... dont use Picasa :)

File Version: 341
Poly Count: 10,100
Posted by Picasa

Monday, April 03, 2006

Tangara Progress

Here is a shot of the other end of the base model for a change. Ive been working on the intercar gangway area. Its important to get this right as what I do here will appear on all variations of each car that will be created from this model.

Unfortunately Im kind of stuck trying to get my head around how it will work. Nothing major, just trying to get a picture of it spatially in my head (ie: in 3D).

What I want to do is have the gangway and coupler both attached to a dummy bogie attachment point so that they swivel as the train goes around a corner, keeping the gangways and couplers of inter-connected cars aligned. Because its so wide (almost the width of the carriage) the gangway will have to be carefully positioned so that it doesnt show through the interior walls when it turns.

I also want to animate it so that it retracts when the car is decoupled. I had always thought it retracted in a particular way, but I cant find any photograpic evidence to support that, so I will probably model it like the photos I have, which will mean that the animation will be slightly simpler. There are not a lot of photos around of decoupled Tangara cars, although I have found a few.

Having said last time that the front end was just about done, I noticed a problem with the upper section which led me to totally redo the rounded edges, both at the top, and at th bottom. I also noticed that the windows on the exterior are slightly out of alignment with the interior windows - probably as a result of the boolean operations to make the headlight, ditch light and marker light holes. I'll tidy them up once the body is done.

Im really trying to avoid using boolean tools now, and often cut holes by recreating whole panels from a few selected verticies and hand created polygons. I leave a bit of a hole and then later refine it into the shape I need. Not as fast as boolean, but it doesnt mess up other parts of the model.

Andi06 kindly offered the use of a library that he created for his AEC Railcars, so Im looking forward to incorporating that into the Tangara. Being new to Trainz Script (but not to programming) I was having a hard time setting up a structure that would be easy to maintain, so in addition to the code, this will help a lot with that. Many of his supporting utility functions will come in handy, as will a few others I have collected.

I was wondering about push buttons a while back, and today I discovered a couple of undocumented config tags in an Auran examle (the transporter turntable). From memory I think they were kind button_onoff and kind button_whilepressed. If they do what I am thinking they do, it will make the push buttons in the cab a lot nicer. I also have a couple of other ideas, including using animated levers and colision meshes to achive the same thing.

Current Version: 319
Poly Count: 10,400
Posted by Picasa

86 Class Progress

Because Ive been stuck on the Tangara, Ive done a little more on the 86 Class. Not much different really. Ive recently added the interior and last night I cut out the windows. The doors will be next, and then I can go around fixing a few things that the boolean subtract messed up.

Now that it has a few window holes its starting to look more like the real thing, but there are a few more pieces yet to be added.

File Version: 49
Poly count: 5500 Posted by Picasa