 Ive been getting the base model ready for texturing and tweaking a few things here and there. As I mentioned last week, Ive been having a closer look at the drivers cabin and have noticed quite a lot of detail that I missed - mainly in the structure of the walls and ceiling, so I have been getting that right.
Ive lowered the ceiling and added the fluro lights that run across the back wall. Ive fixed the area above the doors, and have added the recess for the fire extinguisher. I just have to finish the ceiling at the front, which has some kind of overhead console, or equipment box which will give me the right shape on which to lay the textures.
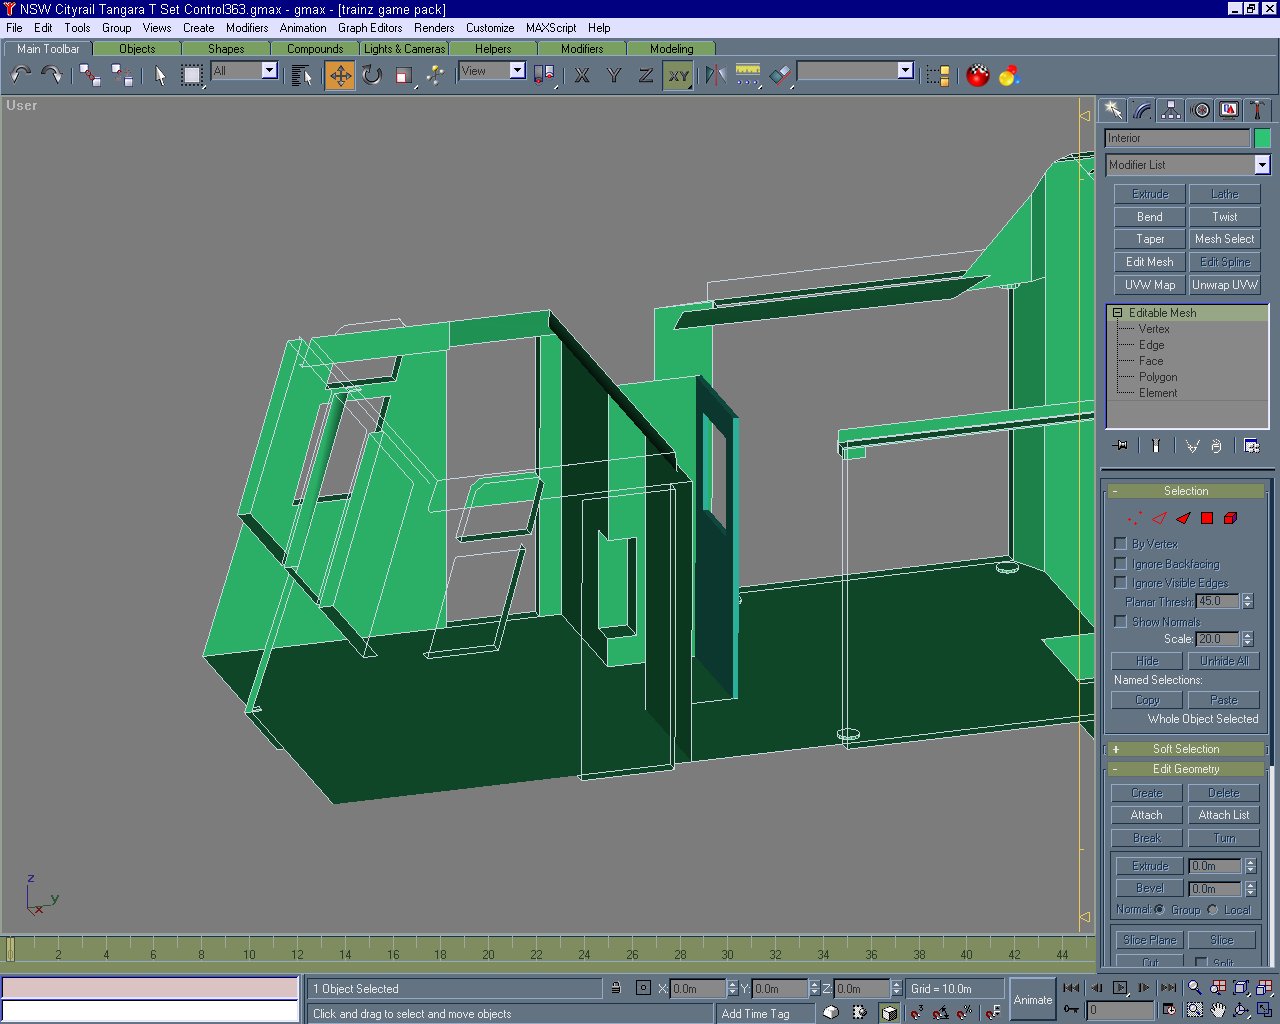
Ive removed a few textures that came along with some of the imported pieces (such as Auran's driver's chair and extinguisher from the DD40) and deleted all the materials from the navigator so that I can start fresh. During this process of tweaking, theres not really a lot to see as things get moved around only slightly. It doesnt really look that different, but it will make the finished model a much cleaner base to start from.
While I was at HET on Saturday I managed to get some detailed close up photos of a Train Stop trip arm, and this has helped me figure out how best to build it, so that will be done soon. I also got some photos of an actual drivers chair, complete with HMC printed on the fabric (Hornsby Maintenance Center) so I will be using that as the texture for a more realistic look. I spent the rest of the day cleaning and vacuming F1 (an old manual door red rattler set) to get it ready for a trip in a few weeks time.
Ive also figured out how the gangway should work, so thats another thing to finish. The texturing should start soon, but I am waiting until Im happier with the model. Theres no point texturing if Im going to start deleting things and replacing them with new pieces - I'd have to texture them over again.
For those who arent sure of the plan, once this model of the control trailer is finished and textured, I will be using it as a base to create 9 more models which will make up the completed project. Theres 2 cars for the T set, 3 cars for the G set, and 2 for the 4D, plus another 2 cars to build the stripped 4D that I mentioned in an earlier post. As you can see, its important to get this one right before I start copying it to build the others - if for example the gangway isnt right, I will have to edit 14 of them to correct the problem, rather than just one. Thats why Im taking my time, and tweaking this model until Im happy with it. It should be fairly quick to build the other models once this one is ready - just a matter of highlighting a few difference between the various types of carriage.
Ive given up on inlcuding the poly count in these posts. Due to the way Im building the model (with eveything in one file for now) the count doesnt really add up the way Auran break it down, and I really cant be bothered subtractracting all the pieces that wont be in the final model - in fact ive forgotten which counts include what, which makes comparing them difficult.
File Version: 362
No comments:
Post a Comment